Have you ever looked at a plain jacket, a boring backpack, or a blank hat and thought, "This needs something... me"? You're not alone. Across the UK, a creative revolution is stitching its way into the mainstream, and it's all about personalization. The humble custom patch is having a moment, and it's your turn to join in.
Gone are the days when embroidered patches were just for uniforms or scout badges. Today, they are a powerful form of self-expression, a way to showcase your passions, commemorate a memory, or simply add a unique flair to your style. But if you've never designed one before, the process can seem daunting.
Where do you start? What makes a good design? How do you turn your idea into a tangible, high-quality reality?
Don't worry. This beginner's guide will walk you through every single step, demystifying the process and empowering you to create a patch that is uniquely, authentically yours. Let's turn your inspiration into a wearable reality.
Why Create a Custom Patch? The Power of Personal Expression
In a world of fast fashion and mass production, custom patches offer a refreshing antidote. They are a way to:
Stand Out from the Crowd: Your design will be one-of-a-kind. No one else will have the same patch, making it a true statement of individuality.
Celebrate Your Passions: Are you an avid hiker, a music fanatic, a coffee lover, or a proud pet owner? A patch lets you wear your heart on your sleeve—literally.
Commemorate Special Moments: Turn a wedding date, a graduation year, a favorite travel destination, or an inside joke into a lasting keepsake.
Build Community: Groups, clubs, and small businesses use patches to create a sense of belonging and unity, much like a uniform.
A study by Epsilon found that 80% of consumers are more likely to do business with a company that offers personalized experiences. Creating your own patch is the ultimate form of personalization.
Step 1: Find Your Inspiration – What's Your Story?
Every great patch starts with an idea. Your inspiration can come from anywhere. Here are some common starting points to get your creative juices flowing:
Hobbies & Interests: A bicycle for a cyclist, a book for a reader, a specific plant for a gardener.
Pop Culture: Your favorite band's logo, a quote from an iconic film, a symbol from a beloved video game.
Personal Identity: Your initials in a favorite font, your astrological sign, a representation of your heritage.
Nature & Art: A simple line drawing of a mountain, a favorite animal, an abstract shape you love.
Humor & Wit: A funny pun, a sarcastic phrase, a quirky illustration.
Pro Tip: Look at platforms like Pinterest and Instagram for patch design ideas. But remember, the goal is to be inspired by styles and layouts, not to copy someone else's work. Your patch should be yours .
Step 2: Design Like a Pro – Keeping It Simple and Effective
This is the most important step. The key to a successful patch design is understanding the medium. Embroidery is different from printing on paper.
The Golden Rules of Patch Design:
Simplicity is King: Intricate details and tiny text will get lost in the stitching. Focus on a strong, clear, and bold concept.
Think in Silhouette: If you can recognise your design as a blacked-out shape, it will work well as a patch. Strong, recognisable shapes are your best friend.
Limit Your Colour Palette: Each colour change adds complexity and cost. A powerful design often uses 3-5 colours maximum. This helps the patch look clean and professional.
Size Matters: Consider where you want to place the patch. A large, detailed back patch is very different from a small, simple chest patch.
Step 3: Choose Your Patch Type – Understanding Your Options
Not all patches are created equal. The two most common types for beginners are:
1. Embroidered Patches
What they are: The classic style. Made by stitching thread onto a fabric backing.
The Look & Feel: Textured, traditional, and durable. Has a raised, "3D" effect.
Best for: Most designs. Especially good for logos, text, and bold shapes. Perfect for achieving that classic, high-quality look.
2. Woven Patches
What they are: Made with finer threads on a loom, resulting in a smoother surface.
The Look & Feel: Smoother, flatter, and more detailed. Can handle smaller text and more intricate imagery.
Best for: Designs with a lot of detail, gradients, or photorealistic imagery.
For most beginners, embroidered patches are the recommended starting point. They are versatile, durable, and offer that classic patch aesthetic.
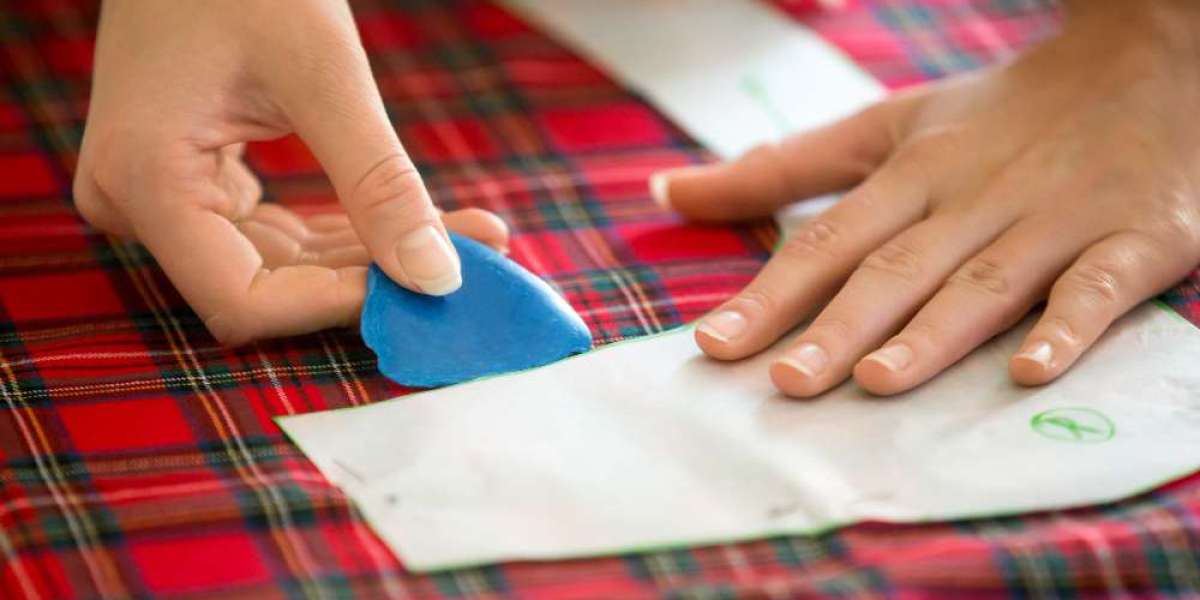
Step 4: From Sketch to Stitch – How to Bring Your Design to Life
You have your idea. Now, how do you get it made? This is where a trusted manufacturer comes in.
Create Your Artwork: You don't need to be a professional graphic designer. A clear, digital image is a great start. This could be:
A high-quality PNG file with a transparent background.
A vector file (AI, EPS, SVG) – this is the gold standard for the crispest results.
Even a clear, well-drawn sketch on paper can work. Many manufacturers offer free design services to turn your sketch into a professional embroidery file.
Choose Your Backing: How will you attach your patch?
Iron-On: Features a heat-activated adhesive. Easy to apply with a household iron.
Sew-On: The traditional method. Offers the most permanent and secure hold.
Velcro®: Ideal if you want to swap patches on and off a single garment.
Select Your Manufacturer: This is the most critical step. For UK creators, using a UK-based company like Patch Makers UK offers huge advantages:
Expert Guidance: They can advise on your design, suggesting improvements to ensure it looks fantastic as a finished product.
Quality Assurance: You can trust the materials and craftsmanship.
Faster Turnaround: No long international shipping waits or customs hassles.
Real-World Inspiration: A UK Case Study
The Bristol Board Game Café: A small local cafe wanted to create a sense of community. They designed a simple embroidered patch featuring a dice and a coffee cup. They offered it as a free gift with every loyalty card stamp.
The Result: Customers loved them. They started appearing on customers' lanyards and bags, turning patrons into brand ambassadors. The cafe became more than just a place to go; it became a club to belong to, all thanks to a small, well-designed patch.
Your Action Plan: Getting Started Today
Grab a Notebook: Jot down your ideas. Don't filter yourself at this stage.
Sketch It Out: Draw a rough version of your favorite idea. Remember the rules: keep it simple and bold.
Find a Supplier: Reach out to a specialist like Patch Makers UK. Discuss your idea with them—they are experts and can help you refine it.
Order a Sample: If you're planning a larger run (eg, for a club or event), always order a single sample first to check the quality and colors.
Apply and Enjoy: Once your patches arrive, apply them to your chosen item and enjoy your handiwork!
Your Creative Journey Starts with a Single Stitch
Creating your first custom patch is an incredibly rewarding experience. It's a simple process that blends creativity with tangible results. There's a unique pride that comes from wearing something you conceived and designed yourself.
It's a step towards a more personalized world, one stitch at a time. Your idea is valid, your story is worth telling, and your design is waiting to be made.
? Ready to bring your idea to life? Get a free, no-obligation quote and expert design advice from the UK's leading patch specialists at Patchmakers UK today. Let's create something amazing, together.