
Transform Your Space: The Ultimate Guide to Stunning Cable Railing Installations!
Cable railing with wood posts has emerged as a stylish and functional choice for homeowners looking to enhance their spaces. This modern railing system not only offers unobstructed views but also adds a contemporary touch to both indoor and outdoor areas. The sleek lines of cable railing contrast beautifully with the natural warmth of wood, creating an inviting atmosphere. In this comprehensive guide, we aim to walk you through the process of installing cable railing with wood posts, highlighting the materials and tools you will need along the way. By the end of this article, you will be equipped with the knowledge and confidence to take on this rewarding DIY project.
Understanding Cable Railing Systems
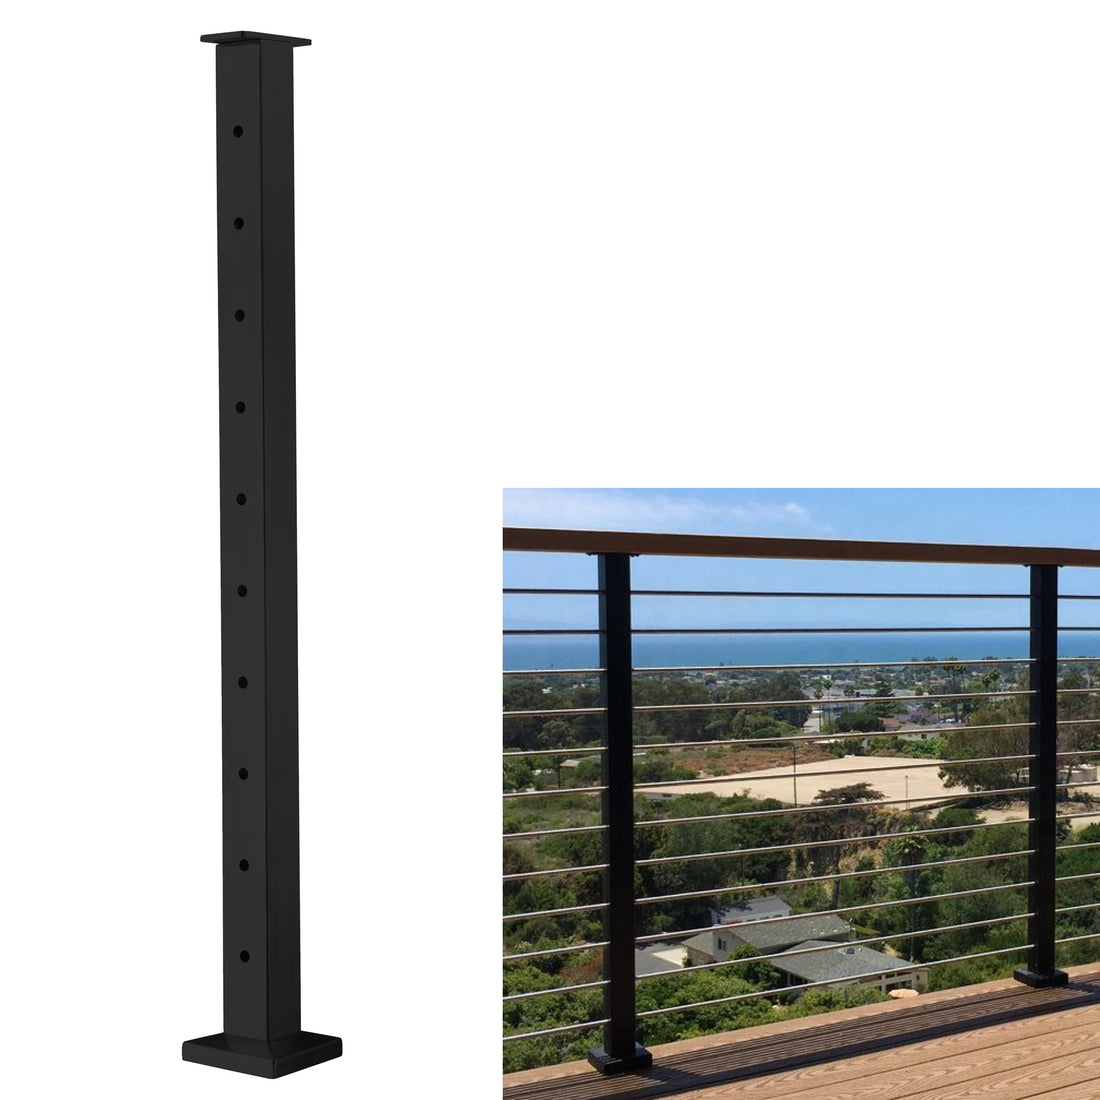
A cable railing system consists of stainless steel cables stretched between posts, creating a barrier that offers safety without obstructing views. The cable itself typically runs horizontally or vertically, depending on the design, and can be adjusted for tension to ensure stability. One of the major advantages of cable railing over traditional options - such as balusters or solid panels - is its minimalist aesthetic. This type of railing is particularly appealing in homes with scenic vistas, as it allows for maximum visibility while still providing a sense of security. When paired with wood posts, cable railings can blend rustic charm with modern elegance, making them a popular choice for decks, balconies, and staircases.
Materials Needed for Installation
To successfully install cable railing with wood posts, you'll need a variety of materials. First and foremost, you'll require stainless steel cables, which are durable and resistant to rust, ensuring longevity. Next, select wood posts that are strong enough to withstand tension; common choices include cedar, pine, or pressure-treated lumber. Additionally, you'll need cable fittings, such as tensioners and end caps, to secure the cables at each post. Don’t forget the necessary hardware, including screws and brackets, to secure the posts to your deck or floor. Lastly, consider using a wood finish or sealant to protect the posts from moisture and UV damage, enhancing their lifespan and maintaining their appearance.
Tools Required for the Job
Having the right tools is essential for a smooth installation process. Start with a measuring tape to ensure accurate placement of your posts. A drill will be needed for making pilot holes and securing the posts and fittings. A cable cutter is crucial for trimming the stainless steel cables to the appropriate lengths, while a tensioning tool will help you achieve the correct tightness for each cable run. Additionally, a level is important for ensuring that your posts are straight and secure. Finally, don’t forget safety gear such as gloves and goggles to protect yourself while working. Gathering these tools before you start will streamline the installation process and help prevent delays.
Step-by-Step Installation Guide
Installing cable railing with wood posts may seem daunting, but by following these clear steps, you can achieve a professional-looking result. Begin by preparing your area and ensuring that you have all your materials and tools on hand. Make precise measurements for the placement of your wood posts, ensuring they are evenly spaced to provide adequate support for the cables.
Preparation and Planning
Before you dive into the installation, it's critical to take your time with the planning phase. Measure the distance between posts accurately, taking into consideration the height of the railing and the spacing of the cables. Common mistakes during this stage include miscalculating distances or failing to account for the slope of a deck, which can lead to uneven installations. Double-check your measurements and plan the layout carefully to avoid these pitfalls.
Installation Process
Once your posts are in place and secured, it's time to thread the cables through the fittings. Start at one end, feeding the cable through the bottom fitting and up through the top. As you thread each cable, use your tensioning tool to ensure they are taut but not overly tight, which could damage the fittings or the wood posts. Adjust each cable until they are evenly spaced and parallel. Make sure to secure each fitting with the appropriate hardware to guarantee stability and safety.
Finishing Touches
After the cables are installed, take a moment to step back and inspect your work. Seal the wood posts with a protective finish to safeguard against weathering and wear. Clean up the installation area, removing any debris or tools to leave a tidy space. Regular maintenance is key to the longevity of your cable railing; periodically check for wear on the cables and fittings, and tighten them as needed to ensure continued safety and integrity.
Summarizing Your Cable Railing Project
In summary, installing cable railing with wood posts is a rewarding project that can transform your space into a modern oasis. By understanding the components of cable railing systems, gathering the right materials and tools, and following a detailed installation guide, you can achieve stunning results. Embrace the opportunity to enhance both the beauty and functionality of your home. We encourage you to explore your design options and take on this DIY project with confidence, creating a stylish and safe environment for years to come.